For this application, we will use the standard emulator that ships with the netbeans mobility pack. We will create a simple application that accepts username and password. If the username is "aswin" ;) then it will take you to the next screen. Otherwise, it will display a small error box. Understood??
Ok, be a good student and fire up Netbeans 5.0.
1. Go to File-->New Project. Select "Mobile" on the left pane and "Mobile Application" on the right pane.
2. Click "Next" and give the project name as "MyGreatMobile". Click "Next".
3. Select the Emulator Platform as J2ME Wireless Toolkit 2.2. Leave the other settings as it is and select "Finish".
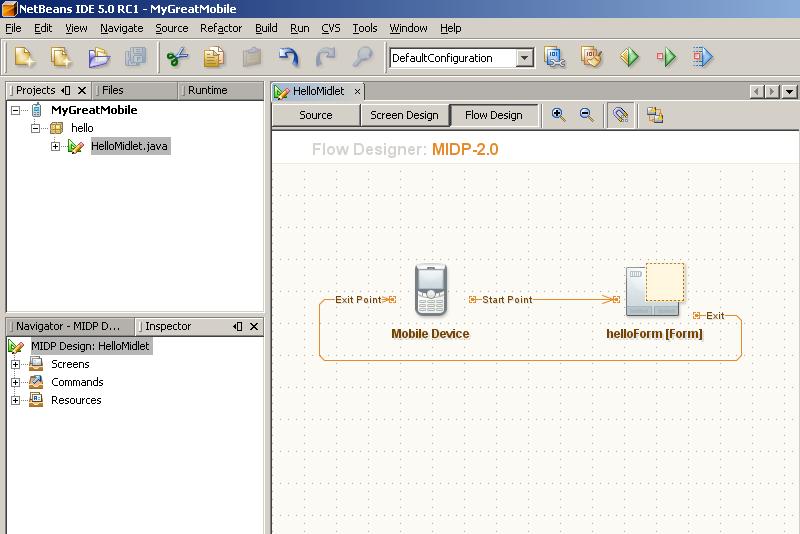
You should have something similar to the one shown below.
4. Choose Window-->Palette. The Palette window is now displayed. From the "Form Items" section, drag and drop 2 textfields on the "HelloForm". The whole window should look like the one shown.

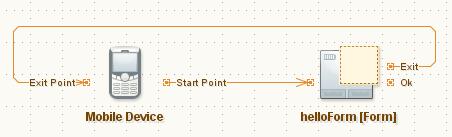
5. From the "Commands" section of the Palette, drag-n-drop and "Ok Command" and a "Exit Command". Press F5 at anytime to view the output on the emulator.
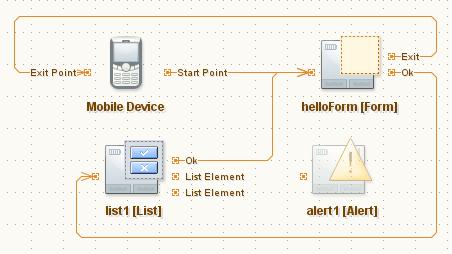
6. Drag-n-drop a "List" and an "Alert" from the "Screens" section of the Palette. Link the "Ok" of "helloForm" to "list1". We will link the Alert programmatically. Also d-n-d a few listitems from the "Elements" section and a "Ok Command" onto "list1". Link the "Ok" of list1 to Form1. Check the screen shot below.
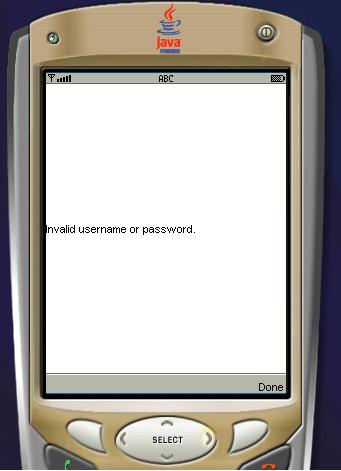
7. Double click on alert1 and change the text to "Invalid username or password".
8. Now, if you switch to the Source view from the Flow Design view, you will be able to see that all the necessary code is generated, to implement the functionality shown in the flow design. THAT IS AMAZING!
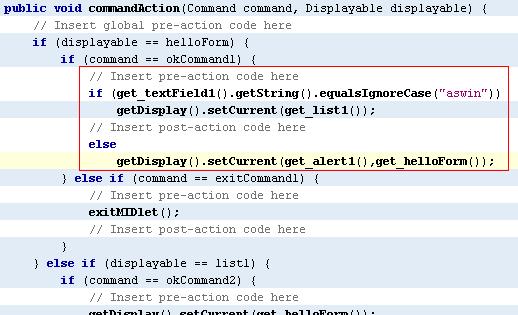
Let us switch to Source view and do some tweaking to get the functionality we want. Find the function called public void commandAction. That function implements all the necessary conditions for navigation. It initially looks like below.

Change the code so that it is similar to the next screen shot.
We are done. Press F5 to view the beauty :D


The next post will be on consuming .net web services on Java ME. Bye!!